DIY Dried Orange Garland: Oven vs. Dehydrator Guide for Festive Home Decor
There's something undeniably enchanting about the warm, inviting glow of a homemade dried orange garland. As winter approaches and the holiday season beckons, these simple yet stunning decorations offer a touch of rustic elegance, a natural fragrance, and a wonderful opportunity for a sustainable craft project. Whether strung across a sun-drenched window, draped over a cozy mantelpiece, or nestled amongst the branches of a festive Christmas tree, dried orange slices catch the light like miniature stained-glass ornaments, infusing your home with an artisanal charm.
Making your own dried orange garland is a surprisingly straightforward process, accessible to crafters of all skill levels. The primary decision you'll face is choosing your drying method: the speed and convenience of an oven, or the consistent, low-and-slow approach of a food dehydrator. Each method has its unique benefits and considerations, impacting the final look and longevity of your beautiful fruit slices. This comprehensive guide will walk you through every step, helping you create a holiday tradition you'll cherish for years to come.
Why Dried Orange Garlands Are a Must-Have Decoration
Beyond their sheer beauty, dried orange garlands bring a multitude of benefits to your seasonal decor. They epitomize a "handmade vibe" that mass-produced decorations simply can't replicate, creating a genuinely cozy and personalized atmosphere. Here’s why they’re a beloved choice:
- Stunning Visual Appeal: When light passes through the translucent orange slices, they glow with a warm, amber hue, creating a captivating visual effect reminiscent of antique stained glass. Their natural imperfections and varied patterns add to their unique charm.
- Natural Fragrance: Unlike artificial air fresheners, dried oranges release a subtle, citrusy aroma that is refreshingly natural and inviting. It’s a wonderful way to imbue your home with the scents of the season without being overpowering.
- Sustainable and Eco-Friendly: Utilizing fruit for decoration is a wonderful way to embrace sustainability. It’s a natural, biodegradable option that reduces reliance on plastic or synthetic decor.
- Versatility in Decorating: A dried orange garland isn't just for Christmas trees. Imagine it adorning a kitchen window, framing a doorway, draped over a bookshelf, or even incorporated into wreaths and table centerpieces. Their rustic elegance complements a wide range of interior styles, from farmhouse chic to minimalist modern. For more creative display ideas, you might find inspiration in Craft Beautiful Dried Orange Garlands: Natural Holiday Decor.
- Engaging Craft Project: This is a fantastic activity for families, allowing children to participate in a simple yet rewarding craft. It’s a perfect way to spend a chilly afternoon, culminating in a beautiful decoration and cherished memories.
Essential Supplies for Your Dried Orange Garland Project
Before you begin, gathering all your materials will ensure a smooth and enjoyable crafting experience. The beauty of this project lies in its simplicity and minimal requirements.
- Fresh Oranges: Choose firm, ripe oranges without blemishes. Navel or Valencia oranges are ideal, but you can experiment with blood oranges for a different color profile, or even grapefruits and lemons for variety in your garland. Consider getting a mix of sizes for visual interest.
- Sharp Knife and Cutting Board: A very sharp knife is crucial for achieving thin, even slices.
- Lint-Free Cloth Towels or Paper Towels: Essential for blotting excess moisture from the orange slices.
- For the Oven Method: Baking sheets and parchment paper or silicone baking mats. Parchment paper is highly recommended to prevent sticking.
- For the Dehydrator Method: Food dehydrator with trays.
- Optional (for stringing): Sturdy twine, fishing line, or strong thread (hemp twine or jute provides a lovely rustic look), a large-eye needle or a skewer for piercing.
Preparing Your Oranges for Drying: The Foundation of Success
Proper preparation is key to achieving beautifully dried orange slices. Take your time with these initial steps; they make a significant difference in the final product.
- Slice Uniformly: Using your sharp knife, cut the oranges into thin, even slices, approximately 1/8 to 1/4 inch thick. Aim for consistency across all slices, as this ensures they dry at roughly the same rate. Cutting them across the "equator" (the middle, not top-to-bottom) will reveal the most appealing cross-section of segments.
- Blot Thoroughly: Lay the orange slices in a single layer on a clean, lint-free cloth towel or several layers of paper towels. Place another towel on top and gently press down to blot away as much excess moisture as possible. Avoid smashing them, just firm, gentle pressure. This step significantly reduces drying time and helps prevent the oranges from turning brown during the drying process.
- Arrange for Drying: Once blotted, transfer the orange slices to your chosen drying surface. If using an oven, arrange them in a single layer on baking sheets lined with parchment paper. For a dehydrator, place them in a single layer on the dehydrator trays, ensuring no slices overlap.
Oven vs. Dehydrator: Choosing Your Drying Method
The choice between using an oven or a dehydrator largely depends on your priorities: speed versus color preservation, and active oversight versus passive drying.
The Oven Method: Faster & Rustic Charm
The oven is a popular choice for many home crafters due to its accessibility and faster drying time. However, it demands a more watchful eye.
- Process: Preheat your oven to a low temperature, typically between 200°F and 225°F (93°C to 107°C). Many crafters find 215°F (102°C) to be a "sweet spot" that balances drying speed with minimal browning. Arrange your blotted orange slices on parchment-lined baking sheets.
- Drying Time: Expect the process to take anywhere from 3 to 6 hours, depending on your oven's calibration, the thickness of your slices, and the initial moisture content.
- Oversight: This is crucial. Flip the orange slices every hour or so to promote even drying and prevent sticking or burning. Keep a close watch, especially towards the end of the drying time, as oranges can go from perfectly dried to burnt surprisingly quickly.
- Result: Oven-dried oranges tend to develop a slightly darker, more caramelized, and rustic appearance. While still beautiful, they will likely be a bit browner than their dehydrator-dried counterparts, even at the lowest settings. This rustic look is highly sought after by many!
- Tip: If your oven has a convection setting, use it! Convection ovens circulate air more efficiently, which can lead to more even drying and potentially reduce drying time.
The Dehydrator Method: Brighter Colors & Less Oversight
For those seeking a lighter, brighter finished product with less hands-on effort, a food dehydrator is the superior choice.
- Process: Arrange your blotted orange slices in a single layer on the dehydrator trays, ensuring good airflow around each slice. Set your dehydrator to a low temperature, typically around 135°F (57°C) to 145°F (63°C) for fruits.
- Drying Time: This method is significantly slower than oven drying, often taking between 8 to 14 hours, or even longer for thicker slices.
- Oversight: The "set it and forget it" nature is a major advantage here. You won't need to constantly monitor or flip the slices as frequently as with an oven. You might rotate trays every few hours for optimal consistency, but it's much less demanding.
- Result: Dehydrator-dried oranges will retain much of their vibrant, natural orange color, appearing translucent and jewel-like. Because they dry slowly at a lower temperature, the risk of browning or burning is significantly reduced. This brighter color tends to last longer over time. If achieving those bright, luminous slices is your goal, delve deeper into the comparison with Oven vs. Dehydrator: Achieve Brighter Dried Orange Slices for Garlands.
- Tip: Ensure your slices are completely dry and brittle to the touch. Any remaining moisture can lead to mold, shortening the life of your garland.
Assembling and Displaying Your Beautiful Garland
Once your orange slices are thoroughly dried and cooled, it's time for the fun part: assembling your garland!
- Cool Completely: Allow your dried orange slices to cool completely on a wire rack before attempting to string them. This helps them firm up and prevents breakage.
- Prepare Your String: Cut a length of twine, fishing line, or strong thread to your desired garland length, adding extra for tying loops at the ends.
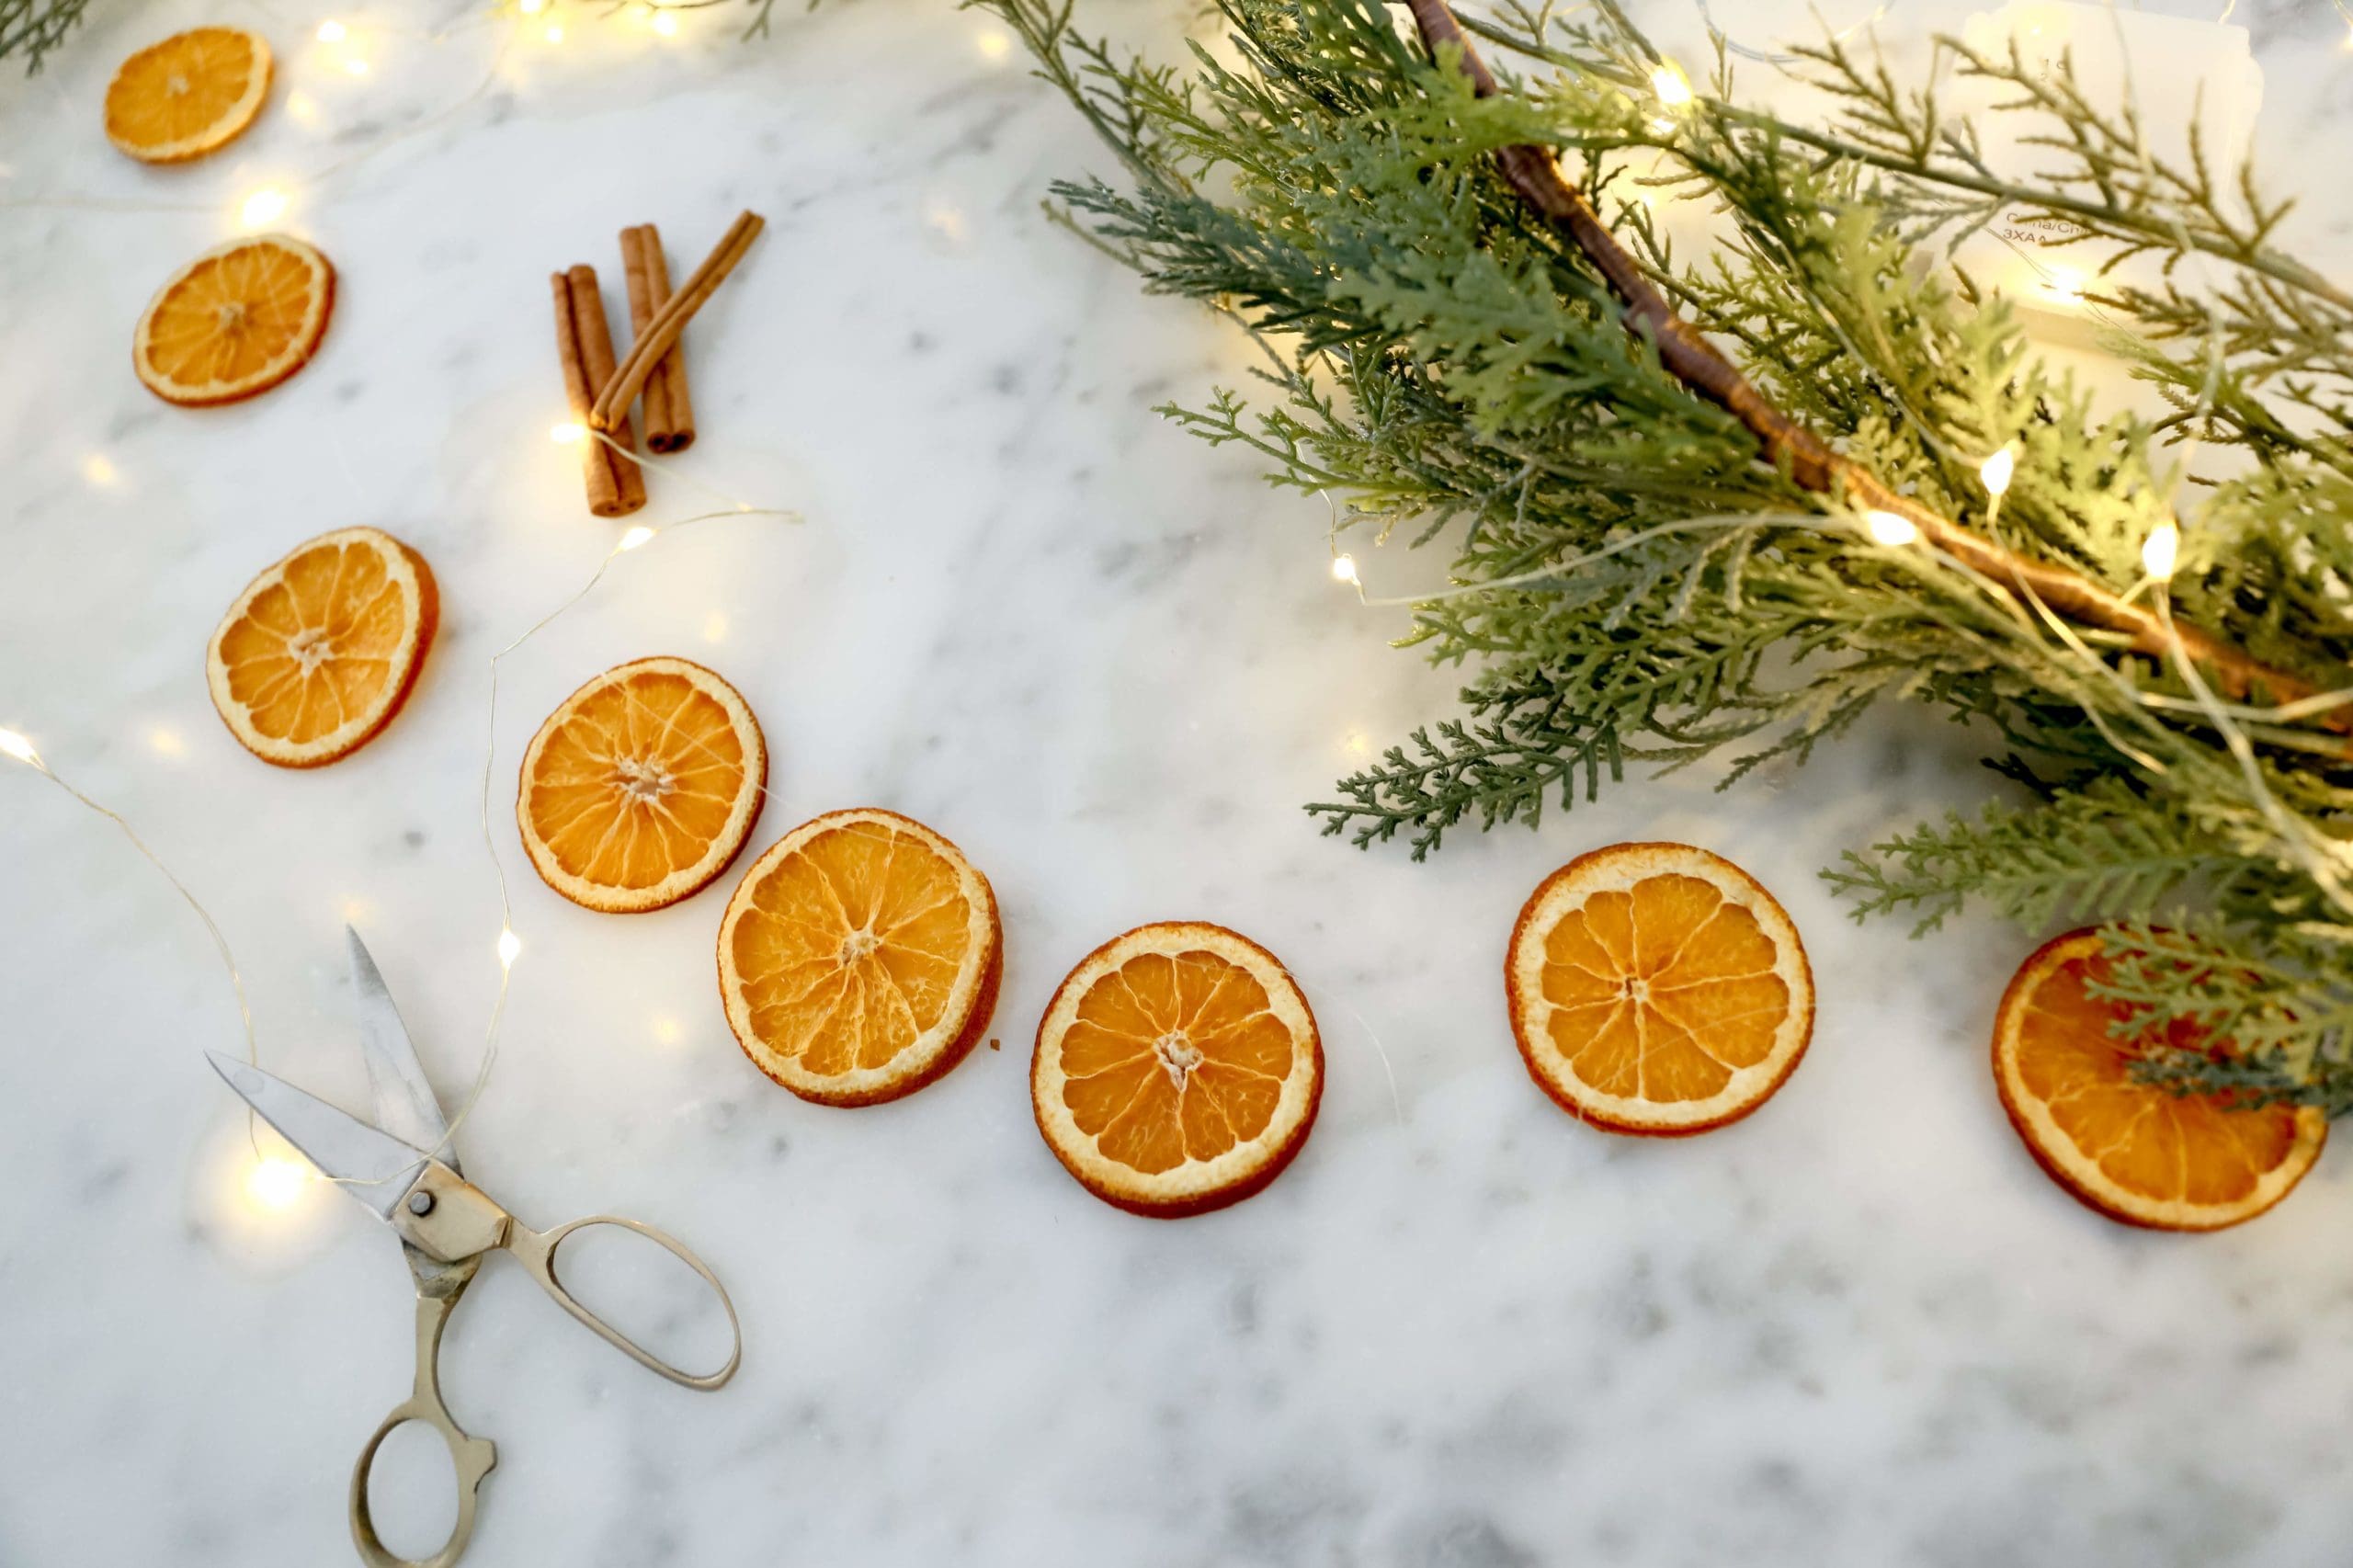
- String the Oranges: Using a large-eye needle or a skewer, carefully thread through the center of each orange slice. You can alternate oranges with other natural elements like cinnamon sticks, bay leaves, dried cranberries, or wooden beads for added texture and visual interest. Experiment with different spacing to create your unique look.
- Display Creatively: Your finished dried orange garland is now ready to adorn your home! Hang it across a sunny window for a stained-glass effect, weave it through the branches of your Christmas tree, drape it along a mantelpiece, or frame a doorway. Their rustic charm makes them versatile additions to any festive setting.
Tips for Longevity and Storage
To ensure your beautiful dried orange garland lasts for multiple seasons, proper care and storage are essential:
- Ensure Complete Dryness: The single most important factor for longevity is ensuring the orange slices are completely dry. If there's any residual moisture, they are prone to mold. They should feel brittle and firm, not pliable.
- Keep Away from Moisture: Avoid hanging your garland in areas with high humidity, like bathrooms or directly above a steaming kettle. Moisture is the enemy of dried fruit.
- Storage: When the holiday season ends, carefully take down your garland. Store it in a cool, dry place, ideally in an airtight container or a sealed plastic bag. You can even add a desiccant packet (like the ones found in shoe boxes) to absorb any latent moisture. Expect some gradual darkening of the slices over time, especially for oven-dried ones. With proper storage, your garland can last for several years.
Conclusion
Crafting a DIY dried orange garland is more than just a decorating project; it's an embrace of natural beauty, sustainable practices, and the joy of handmade traditions. Whether you opt for the quick charm of oven-dried oranges or the vibrant consistency of a dehydrator, the result is a beautiful, fragrant adornment that adds a unique personal touch to your home. By following these steps and tips, you're not just creating a decoration; you're weaving a piece of warmth and festive spirit into the fabric of your holiday season. Gather your oranges, choose your method, and enjoy the rewarding process of bringing this timeless craft to life!
